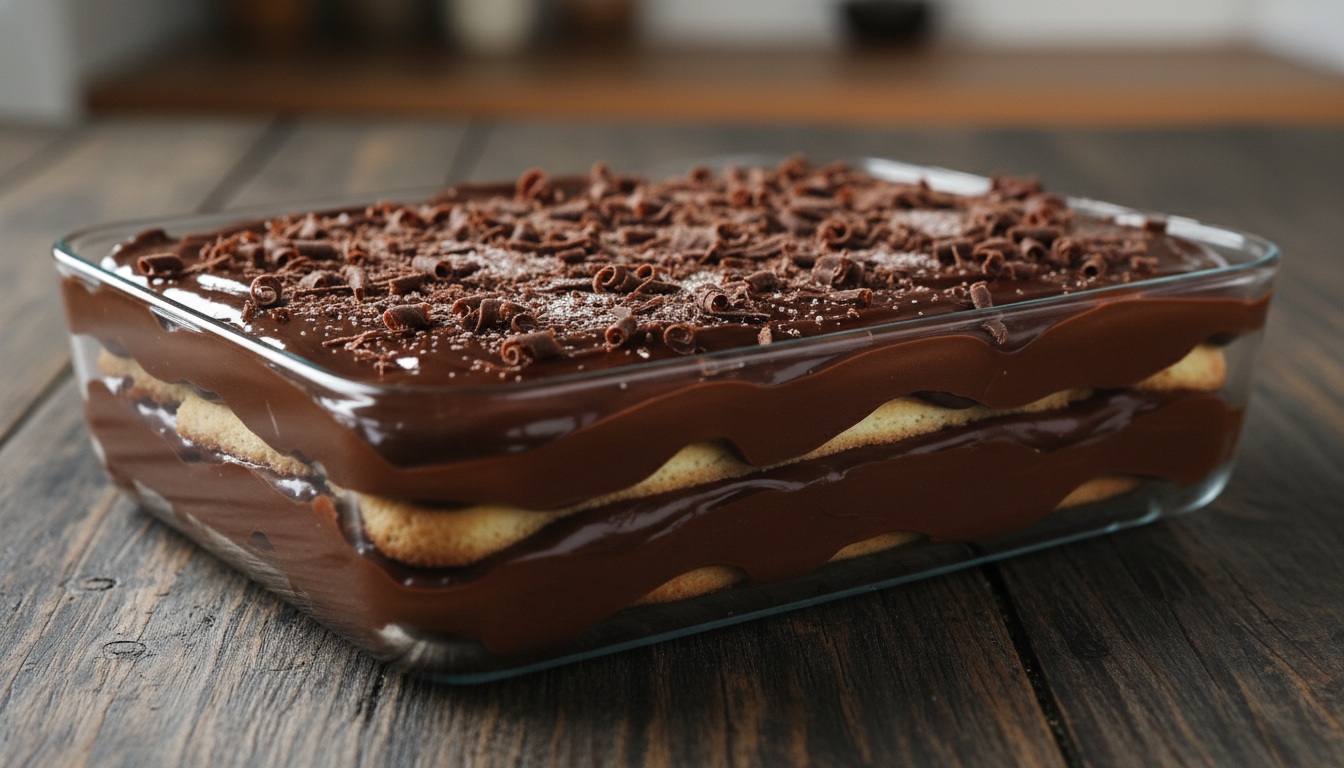
If there’s one dessert that embodies Sunday lunch in Brazil, it’s pavê. Whether it’s for the classic “is it to see or to eat?” pun or its simple, melt-in-your-mouth layers, this sweet treat has earned a special place in the hearts and recipe books of every family. It’s a crowd-pleaser, loved by kids and adults alike, and above all, it allows for endless combinations that make it the perfect end to any meal.
In this version, we’ll focus on what truly matters: the texture. The chocolate pavê you’ll learn to make today is designed to be extremely velvety, avoiding the “gelatinous” aspect that some recipes have. We’ll use simple ingredients you probably already have in your pantry, but with techniques that elevate the final result to a professional pastry level, without losing the warmth of homemade food.
Preparing this dessert is almost a therapeutic process. Layer by layer, we build a balance between the gentle crunch of the soaked cookie and the richness of the chocolate cream. If you’re looking for a foolproof recipe that won’t keep you at the stove for hours and guarantees compliments from the very first spoonful, get your apron ready. The result is a well-balanced dessert, with just the right amount of sweetness and an incomparable creaminess.
Ingredients
For your chocolate pavê to be perfect, it’s essential to respect the proportions. Below, we’ve listed everything you’ll need for the base cream, the topping, and the assembly.
For the base cream (white and creamy):
- 1 can of sweetened condensed milk (395g)
- 2 cans of whole milk (use the condensed milk can as a measure, approx. 600ml)
- 3 egg yolks, passed through a sieve (this prevents an eggy smell)
- 2 heaping tablespoons of cornstarch
- 1 carton of table cream (200g)
- 1 teaspoon of vanilla extract
For the chocolate cream:
- 200g of semi-sweet chocolate, chopped (or 1 cup of 50% cocoa powder)
- 1 carton of table cream (200g)
- Note: If you opt for cocoa powder, add 2 tablespoons of sugar to the cream.
For assembly and topping:
- 2 packages of cornstarch cookies (like Maria cookies) or ladyfingers (approx. 400g)
- 1 cup of milk to moisten the cookies
- 1 tablespoon of cocoa powder (mixed into the moistening milk)
- Chocolate shavings or good-quality sprinkles for decorating
Instructions
The secret to a good chocolate pavê lies in being patient while cooking the cream. Follow these steps carefully to ensure there are no lumps and the flavor is refined.
1. Preparing the base cream
In a heavy-bottomed saucepan, with the heat still off, combine the sweetened condensed milk and the cornstarch. Mix well until the cornstarch is completely dissolved in the condensed milk. This step is crucial to prevent lumps in your cream.
Next, add the sieved egg yolks, whole milk, and vanilla extract. Mix everything together. Turn the heat to medium and stir constantly. When it starts to boil and thicken, lower the heat and continue stirring for another 5 minutes to cook the cornstarch thoroughly and avoid a floury taste. Turn off the heat and stir in the table cream until the mixture is smooth and glossy.
2. Transforming it into chocolate
If you want a two-toned pavê (with white and chocolate layers), separate half of this cream into another bowl. To the half remaining in the pan (while still hot), add the chopped chocolate (or cocoa powder). Stir vigorously until the heat from the cream completely melts the chocolate, transforming it into a dark, velvety chocolate cream. Let the creams cool slightly before starting the assembly, covering them with plastic wrap pressed directly onto the surface to prevent a skin from forming.
3. Preparing the cookies
In a small bowl, mix the milk with the cocoa powder. The trick here is speed: you should dip the cookie in the milk for only 1 or 2 seconds. If you leave it too long, the pavê will become soggy and lose its structure. If you don’t leave it long enough, it will be dry. Balance is the key.
4. The technical assembly
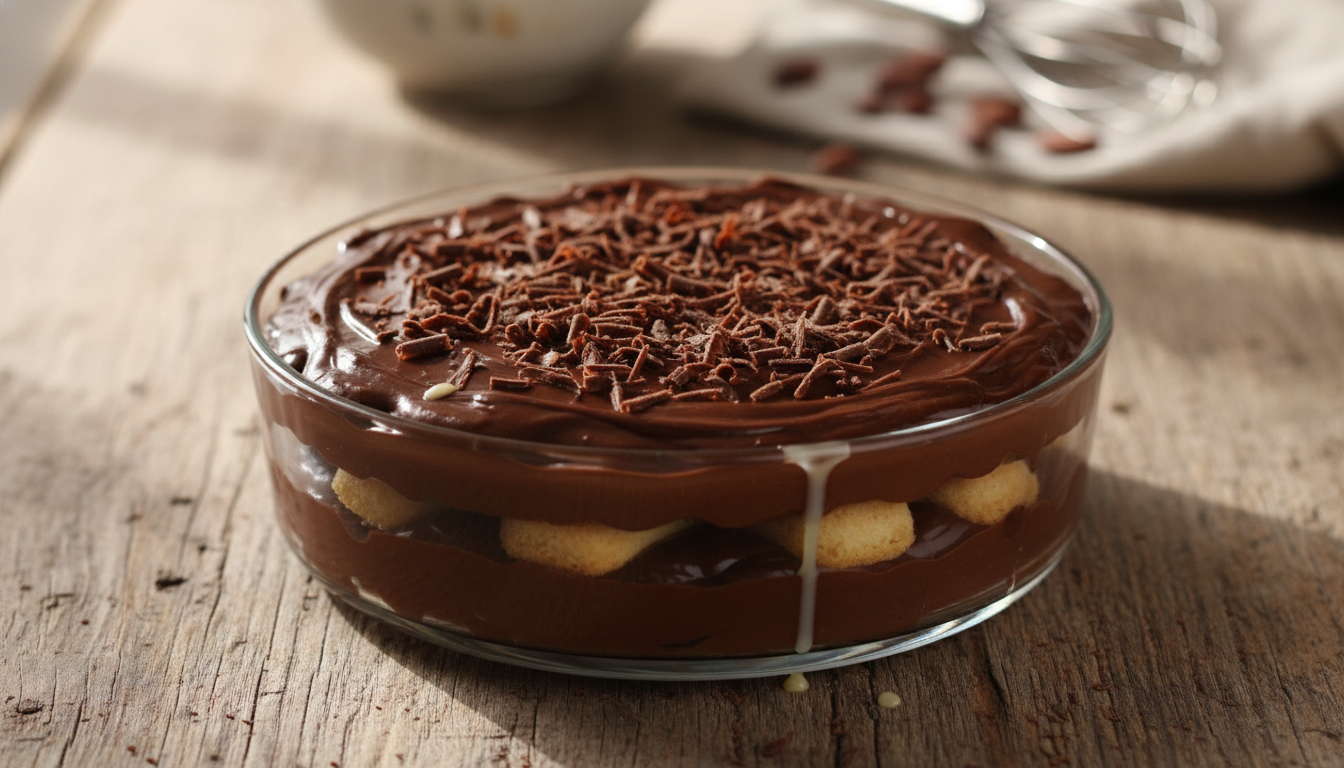
Choose a beautiful glass dish (a transparent one is better to show off the layers). Start with a thin layer of cream (this helps the first layer of cookies to stick).
- Place a layer of moistened cookies.
- Cover with a generous layer of the white cream.
- Place another layer of cookies.
- Cover with the chocolate cream.
Repeat the process until you run out of ingredients, ensuring the last layer is chocolate cream (or an extra ganache, if you prefer).
5. Finishing and chilling
Smooth the surface with a spatula. Cover with chocolate shavings or sprinkles. The chocolate pavê needs time. Refrigerate for at least 4 hours, but it’s ideal to leave it overnight (about 12 hours). This allows the flavors to meld and the texture to become firm enough to slice, yet creamy on the palate.
Prep time and yield
- Prep time: 30 minutes
- Cooking time: 15 minutes
- Chilling time: 4 to 12 hours
- Yield: 10 to 12 generous servings
Tips and variations
- Crunchy Version: If you like different textures, add a layer of toasted, ground peanuts or chopped nuts between the cream layers. The contrast of the crunch with the creaminess of the chocolate pavê is irresistible.
- Alcoholic Touch: For a more “adult” pavê, add a tablespoon of brandy or cocoa liqueur to the milk used to moisten the cookies. This adds incredible depth of flavor.
- Cookie Substitution: Although cornstarch cookies are the classic choice, you can use chocolate cookies for a more intense flavor, or ladyfingers for a more elegant presentation and an airier texture.
- Less Sweet and Healthier: To reduce the sugar, use 70% cocoa chocolate and replace the traditional condensed milk with a sugar-free version or coconut condensed milk. You can also use almond milk for the cream base.
- Fresh Fruits: Adding slices of strawberry or banana between the layers transforms the dessert into something fresher. Strawberry and chocolate is a combination that never fails.
How to store
The chocolate pavê is a dessert that must be kept refrigerated.
- In the Refrigerator: Keep it in the dish covered with plastic wrap or an airtight lid to prevent it from absorbing odors from other foods. It will last for 3 to 5 days at its best quality. After this period, the cookies may start to become too soft.
- In the Freezer: We do not recommend freezing a traditional pavê made with cornstarch, as the cream may release water upon thawing, resulting in a grainy and unpleasant texture.
- Golden Tip: Remove it from the refrigerator about 5 to 10 minutes before serving. This will allow the cream to lose the excessive cold stiffness, making its creaminess stand out even more.
Frequently asked questions
Can I use cream-filled cookies instead of cornstarch cookies?
Yes, you can use chopped cookies like Oreos. In this case, since these cookies are already very sweet, I recommend reducing the sugar in the cream slightly or using a darker chocolate to balance the flavor of your chocolate pavê.
My cream turned out lumpy, what do I do?
If the cream became lumpy during cooking, don’t panic. Turn off the heat and pass the cream through a fine-mesh sieve or blend it quickly in a blender or with an immersion blender. It will become smooth and glossy again instantly.
Can I make the pavê using only cocoa powder?
Yes, you can. Cocoa powder (especially 50% cocoa) works very well. Avoid using chocolate drink mixes, as they contain a lot of sugar and little cocoa, which can make the dessert cloying and give it a very light color.
What’s the difference between using ladyfingers and cornstarch cookies?
Ladyfingers are more porous and absorb more liquid, resulting in a taller, fluffier layer, similar to a cake. Cornstarch cookies become more compact and create more defined, thinner layers. The choice depends purely on your texture preference.
Do I really need to remove the membrane from the egg yolk?
Yes! The yolk membrane is responsible for that characteristic eggy smell in cooked desserts. Passing it through a sieve is a quick process that ensures your chocolate pavê only has the aroma of vanilla and chocolate. Simply place the yolks in the sieve and pierce them with a fork, letting the liquid drain naturally without rubbing a spoon on the sieve.
O BrasilN1.com é um portal especializado em receitas culinárias confiáveis, com foco na gastronomia brasileira e em preparos adaptados à rotina doméstica.
Todo o conteúdo é desenvolvido e validado pela Chef Laura Montovani, profissional dedicada à padronização de receitas, seleção criteriosa de ingredientes e testes práticos que asseguram consistência nos resultados.
Seguimos boas práticas editoriais, com atenção à precisão das informações, linguagem acessível e compromisso com originalidade, oferecendo materiais gastronômicos seguros e úteis para diferentes públicos.
