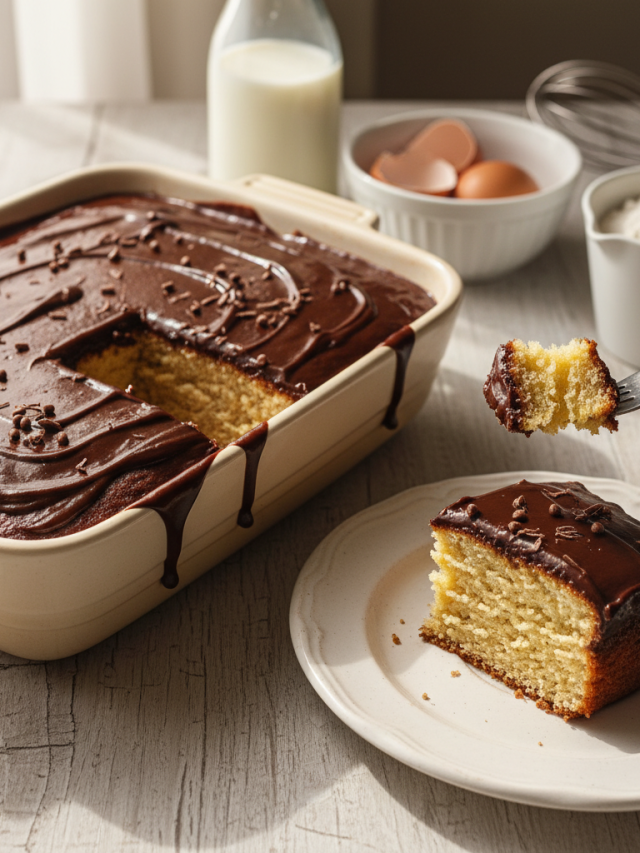
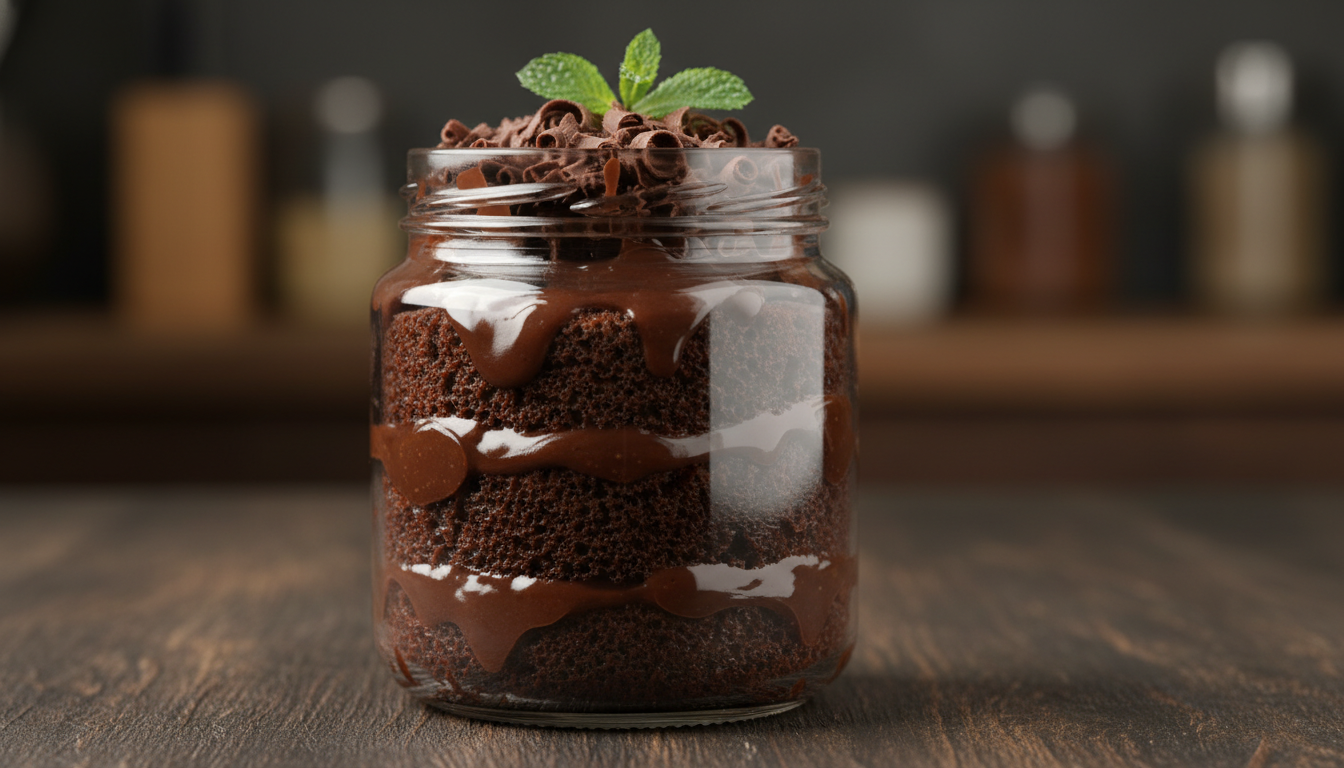
The chocolate cake in a jar has become a real sensation, and it’s not hard to see why. It combines the convenience of an individual dessert with the flavor explosion of a traditional party cake. Whether for selling to earn extra income or for serving at a family gathering, this delicacy wins everyone over with its charming presentation and, of course, its irresistible texture.
The key differentiator that separates an ordinary dessert from an absolute success is its moistness. Nobody likes a dry cake or a hardened filling. Therefore, mastering the correct techniques to maintain moisture and sugar balance is essential. In this guide, we will explore the 8 fundamental secrets for you to create the best chocolate cake in a jar of your life, with tips ranging from the choice of cocoa to the exact resting time in the refrigerator.
Ingredients
To make it easier, we’ve divided the ingredients into three parts: the fluffy cake, the soaking syrup, and the creamy filling.
Chocolate Cake (Oil-Based)
- 3 large eggs (at room temperature)
- 1 ½ cups of sugar (270g)
- 1 cup of 50% cocoa powder (90g)
- 2 cups of sifted all-purpose flour (240g)
- 1 cup of sunflower or corn oil (240ml)
- 1 cup of warm water (240ml)
- 1 tablespoon of baking powder (15g)
- 1 pinch of salt
Soaking Syrup
- 1 cup of whole milk (240ml)
- 2 tablespoons of sweetened condensed milk (40g)
- 1 tablespoon of cocoa powder (10g)
Gourmet Belgian Brigadeiro Filling
- 2 cans of sweetened condensed milk (790g)
- 2 cartons of table cream (400g)
- 150g of chopped semi-sweet chocolate (minimum 40% cocoa)
- 1 tablespoon of unsalted butter (15g)
Instructions
1. Preparing the Cake Batter
- In a large bowl or stand mixer, beat the eggs with the sugar until you get a light and fluffy cream.
- Add the oil and cocoa powder, mixing gently to avoid deflating the mixture.
- Alternate adding the sifted all-purpose flour and the warm water, always folding from the bottom up with a whisk.
- Finally, add the salt and baking powder, mixing just enough to incorporate.
- Pour into a rectangular pan (approx. 20x30cm) greased and floured with cocoa powder.
- Bake in a preheated oven at 180°C (350°F) for about 35 to 40 minutes, or until a toothpick inserted comes out clean. Let it cool completely before crumbling or cutting.
2. Preparing the Filling
- In a heavy-bottomed pan, place the sweetened condensed milk, table cream, butter, and chopped chocolate.
- Cook over medium-low heat, stirring constantly with a silicone spatula, ensuring nothing sticks to the bottom.
- The secret here is the consistency: for the chocolate cake in a jar, the filling should be “spoonable.” As soon as it starts to boil and gains a slight thickness (it should fall off the spatula in soft clumps), turn off the heat.
- Transfer to a plate, cover with plastic wrap touching the surface, and let it cool at room temperature.
3. The Syrup and Assembly
- Mix all the syrup ingredients in a squeeze bottle or jar. There’s no need to heat it, just make sure the cocoa has dissolved well.
- With the cake cooled, you can cut it into discs with a round cutter or crumble it coarsely (medium-sized pieces ensure a better texture).
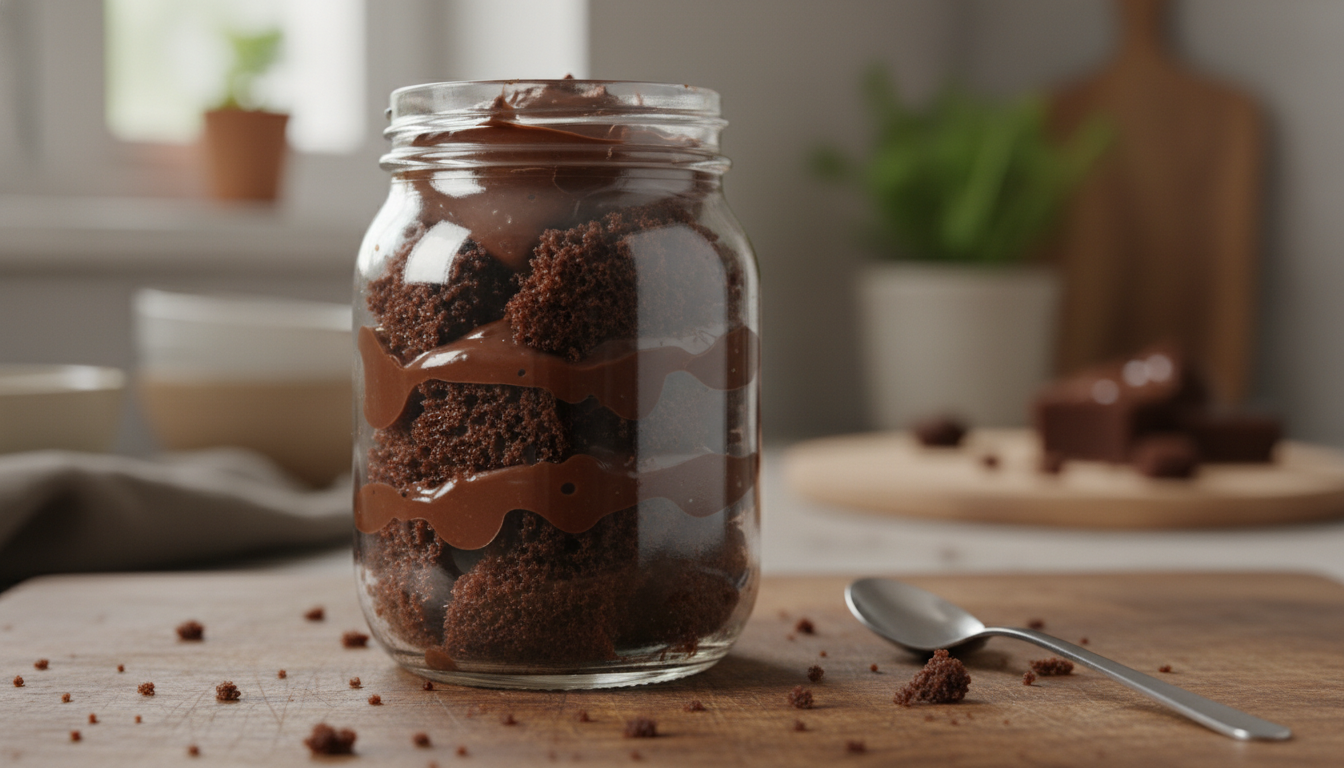
- In your chosen jar, place a small layer of filling at the bottom.
- Add a layer of cake. Drizzle generously with the syrup, but not so much that it leaks.
- Add a generous layer of filling. Repeat the process until you reach the top of the jar.
- Finish with good-quality sprinkles or chocolate shavings.
Preparation Time and Yield
- Prep time: 40 minutes
- Cook time: 40 minutes
- Resting/cooling time: 2 hours
- Yield: Approximately 12 to 15 jars of 250ml (depending on the thickness of the layers).
The 8 Secrets for Perfect Moistness
For your chocolate cake in a jar to stand out, it’s not enough to just follow the recipe; you need to understand the science behind baking. Here are the professional secrets:
- Use Oil Instead of Butter in the Batter: Cakes made with butter tend to harden when refrigerated because animal fat solidifies in the cold. Oil keeps the cake soft and fluffy even after hours of refrigeration.
- The Power of Warm Water: Warm water helps the cocoa to “bloom,” intensifying the color and flavor of the chocolate in the batter, as well as ensuring a lighter structure.
- The Syrup is Essential: Never assemble the cake dry. The milk and condensed milk syrup is what ensures every spoonful is moist. The secret is to drizzle the cake once it’s already in the jar so it absorbs the liquid without losing its shape.
- The Right Consistency for the Filling: The most common mistake is using a filling that’s thick enough to be rolled into balls. In the jar, the filling should be fluid and creamy. Since it will go into the fridge, it will firm up a bit more; so, take it off the heat while it’s still very creamy.
- High-Fat Cream: Prefer table cream with at least 17% fat or canned cream (without the whey) with 25%. Fat is what provides that “melt-in-your-mouth” sensation.
- Quality of the Chocolate: Avoid overly sweet chocolate drink mixes. Use 50% or 70% cocoa powder in the batter and high-quality chocolate (in bar form) in the filling. This prevents the dessert from being cloying and enhances the real chocolate flavor.
- Inverted Assembly: Starting with a thin layer of filling at the bottom of the jar prevents the first layer of cake from becoming dry, as it receives moisture from both below and above.
- Maturation Time: The chocolate cake in a jar tastes much better after 12 hours in the refrigerator. This time allows the flavors to meld and the cake to absorb the moisture from the syrup and filling evenly.
Tips and Variations
- White Chocolate Variation: Replace the cocoa powder in the batter with vanilla and use high-quality white chocolate in the filling. The color contrast is beautiful.
- Adding Fruits: For a fresher version, add chopped strawberries or a red berry jam between the layers. Remember that fresh fruits release water and reduce the product’s shelf life.
- Cheaper Option: You can replace the high-quality chocolate in the filling with a mixture of 50% cocoa powder and a little more condensed milk, although the texture will lose some of its gourmet shine.
- A Crunchy Touch: Add crushed peanuts, nuts, or cookie pieces between the layers to create a texture contrast with the moist cake.
- Healthy Cake in a Jar: For a fit version, use oat flour, a culinary sweetener (like xylitol), coconut milk, and 100% cocoa. The oil can be replaced with coconut oil.
How to Store
Proper storage is crucial to maintain food safety and the quality of your chocolate cake in a jar.
- Refrigerator: The jars must be kept under constant refrigeration (between 4°C and 8°C or 39°F and 46°F). The shelf life is up to 5 days, as long as they are well-sealed. If using fresh fruit, the shelf life drops to 2 days.
- Freezer: It’s possible to freeze just the cake and the filling separately for up to 3 months. We do not recommend freezing the assembled cake in the jar, as thawing can alter the texture of the syrup and make the cake dense or overly wet.
- Packaging: Use plastic (polypropylene) or glass jars with hermetically sealing lids. If you are selling them, be sure to add a label with the production and expiration dates.
Frequently Asked Questions
Can I use chocolate drink mix instead of cocoa powder?
It is not recommended. Chocolate drink mix has a very high percentage of sugar and little cocoa, which will make your chocolate cake in a jar excessively sweet and pale in color. 50% cocoa powder is the perfect balance between flavor and cost-effectiveness.
Why did my filling get chewy/taffy-like?
This usually happens when the filling is overcooked or when there isn’t enough fat (from the cream). Be sure to use medium-low heat and turn it off as soon as the brigadeiro falls from the spatula in a slightly thick but still fluid manner.
How to prevent the cake from spoiling quickly?
Hygiene is fundamental. Use clean utensils, avoid touching the cake with your hands, and prefer new packaging. Additionally, boiling the syrup (if you don’t use condensed milk in it) and ensuring the cake is cool before sealing the jar prevents water condensation, which is the perfect environment for mold.
What’s the best jar size for selling?
The standard market size for chocolate cake in a jar ranges from 200ml to 250ml. It’s a satisfying size for one person and allows for competitive pricing. 100ml jars are great for children’s party favors.
O BrasilN1.com é um portal especializado em receitas culinárias confiáveis, com foco na gastronomia brasileira e em preparos adaptados à rotina doméstica.
Todo o conteúdo é desenvolvido e validado pela Chef Laura Montovani, profissional dedicada à padronização de receitas, seleção criteriosa de ingredientes e testes práticos que asseguram consistência nos resultados.
Seguimos boas práticas editoriais, com atenção à precisão das informações, linguagem acessível e compromisso com originalidade, oferecendo materiais gastronômicos seguros e úteis para diferentes públicos.
