


Planning your meals is the secret to a light, healthy, and, above all, economical routine. In the midst of the daily rush, we often resort to quick snacks or delivery, which isn’t always good for our wallets or our health. Learning how to assemble your meal prep for the week is liberating: you gain precious time and ensure you’ll have a warm, delicious homemade meal waiting for you.
Many people turn their noses up at the idea of eating pre-made meals because they remember dry or bland food. However, the secret to a truly juicy meal prep for the week lies in the choice of ingredients and preparation techniques that maintain the food’s moisture, even after reheating. In this guide, we’ll focus on preparations that don’t lose their flavor and will make you eagerly await lunchtime.
Preparing your meals in advance isn’t just about cooking; it’s about strategy. By dedicating a few hours on your Sunday or a quieter day, you eliminate the stress of “what am I going to eat today?” and ensure your diet stays on track. Let’s learn how to turn simple ingredients into practical feasts for every day of your week.
Ingredients
To make your organization easier, we’ve divided the ingredients by category. This list yields approximately 10 meals (5 chicken and 5 ground beef), providing lunch and dinner for 5 days or just lunch for two people.
Carbohydrate and Grain Base
- 2 cups of raw white or brown rice;
- 4 cups of water (or as per package instructions);
- 2 cups of pinto or black beans (soaked for 12 hours);
- 1 tablespoon of oil or olive oil;
- 4 cloves of garlic, minced;
- Salt to taste.
Protein 1: Juicy Roasted Chicken
- 1 kg of boneless chicken thighs (thighs are juicier than breasts for meal prep);
- Juice of 1 Sicilian or Tahitian lime;
- 3 tablespoons of olive oil;
- 2 tablespoons of Dijon or yellow mustard;
- 1 tablespoon of smoked paprika;
- Salt and black pepper to taste;
- Sprigs of fresh or dried rosemary.
Protein 2: Ground Beef with Vegetables and Rustic Sauce
- 800g of ground sirloin or chuck;
- 1 large onion, chopped;
- 3 cloves of garlic, crushed;
- 2 medium carrots, cut into small cubes;
- 1 cup of chopped green beans;
- 1 can of peeled tomatoes or 4 ripe tomatoes, chopped (the sauce is essential for juiciness);
- 1/2 cup of chopped fresh herbs (parsley and chives);
- Salt, cumin, and black pepper to taste.
Side Vegetables
- 1 head of broccoli, divided into florets;
- 2 medium zucchinis, cut into thick slices;
- Olive oil, salt, and oregano for seasoning.
Instructions
The secret to an efficient meal prep for the week is “batch cooking.” Follow this order to optimize your time:
1. Preparing the Grains (Rice and Beans)
Start with what takes the longest. Sauté half the garlic in olive oil, add the rice and salt. Cover with water and cook on low heat until dry. For the beans, after soaking, cook in a pressure cooker with water and a bay leaf for about 20 to 25 minutes. Finish by sautéing the beans with garlic and salt, letting the broth thicken a bit—the broth is what will ensure the rice doesn’t get dry when reheated.
2. The Irresistible Chicken
In a bowl, season the chicken thighs with lime juice, mustard, paprika, salt, pepper, and olive oil. Let it marinate for at least 15 minutes. On a baking sheet, arrange the chicken pieces and cover with aluminum foil. Bake in a preheated oven at 200°C (400°F) for 20 minutes. Remove the foil and let it brown for another 15 minutes. Using chicken thighs and mustard creates a protective barrier that keeps the meat moist for days.
3. Ground Beef with Sauce
In a large pan, brown the onion and garlic. Add the ground beef and cook until it loses its pink color. Important: don’t let the meat fry for too long, or it will dry out. Add the carrots, green beans, and peeled tomatoes (crush the tomatoes with a spoon). Season with salt, pepper, and cumin. Let it simmer on low heat for 15 minutes. The tomato sauce should coat the meat, creating a velvety texture that is perfect for meal prep for the week.
4. Steamed or Sautéed Vegetables
To maintain their vibrant color and nutrients, steam the broccoli for just 5 minutes (it should be al dente). The zucchini can be quickly grilled in a pan with a drizzle of olive oil and oregano. Since the vegetables will be reheated in the microwave, cooking them lightly now prevents them from becoming mushy and falling apart later.
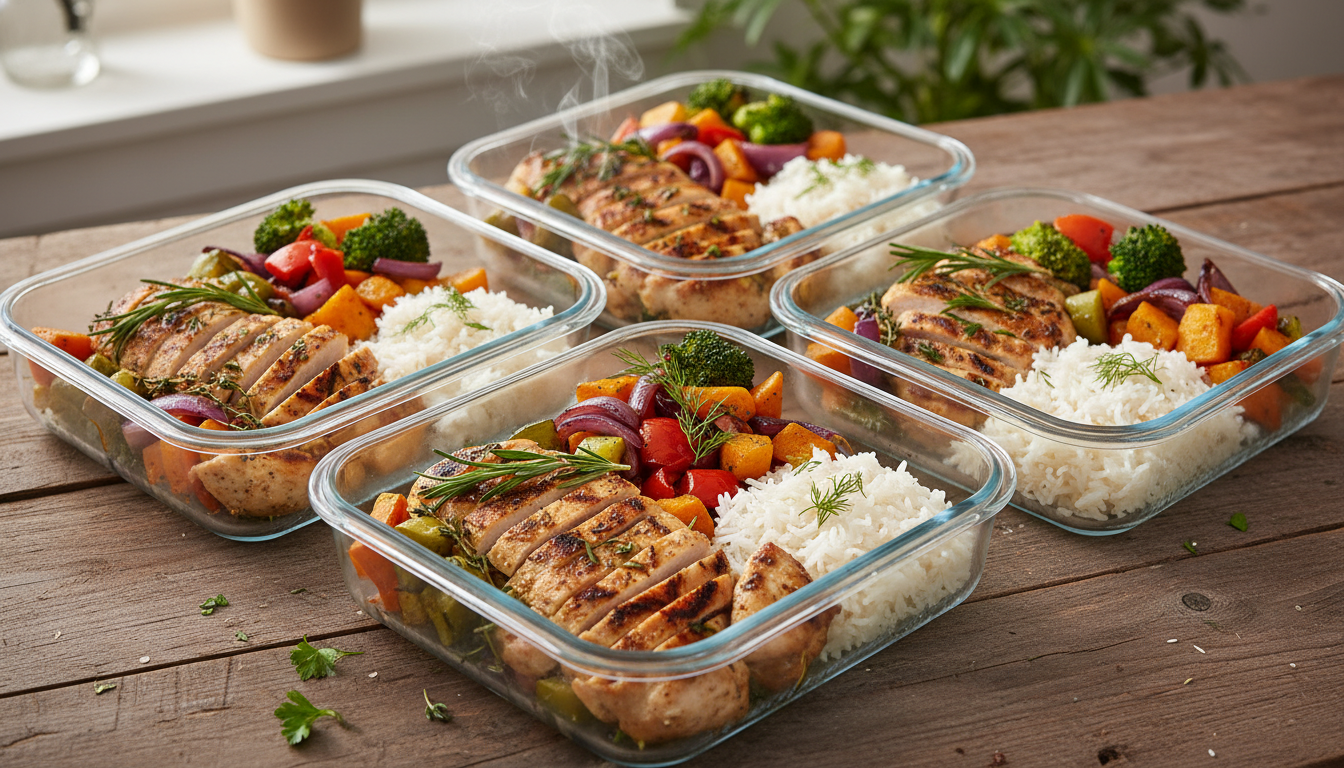
5. Strategic Assembly
Wait for all the food to cool down a bit before assembling.
- Layer 1: Place the rice in one corner or at the bottom.
- Layer 2: Add the beans over the rice (the broth will seep in and keep the rice moist).
- Layer 3: Place the protein next to it. If it’s the chicken, drizzle some of the pan juices over it. If it’s the ground beef, be generous with the sauce.
- Layer 4: Fill the remaining space with the colorful vegetables.
Preparation time and yield
- Prep Time: 40 minutes (washing, chopping, and seasoning).
- Cooking Time: 1 hour and 20 minutes (simultaneous oven, stove, and pressure cooker processes).
- Yield: 10 generous portions of approximately 450g each.
Tips and variations
- Golden Tip for Juiciness: Whenever possible, add extra “moisture.” It could be a bit of tomato sauce, a drizzle of olive oil, or even mashed potatoes or pumpkin puree. This prevents the food from seeming “old” after being microwaved.
- Low Carb Variation: Replace the rice and beans with cauliflower mash or a larger quantity of assorted vegetables, like roasted eggplant and sautéed mushrooms.
- Budget Chef’s Touch: Use fresh herbs like parsley, chives, and basil only when closing the container. They will release their aroma and freshness when you heat the food.
- Protein Swap: If you want to make your meal prep for the week even cheaper, replace the ground sirloin with hard-boiled eggs (add to the container only when cold) or cubed pork loin, which is a lean and very affordable meat.
- Crunchiness: If you like different textures, bring a separate portion of toasted cassava flour (farofa) or sunflower seeds to sprinkle over the meal after heating.
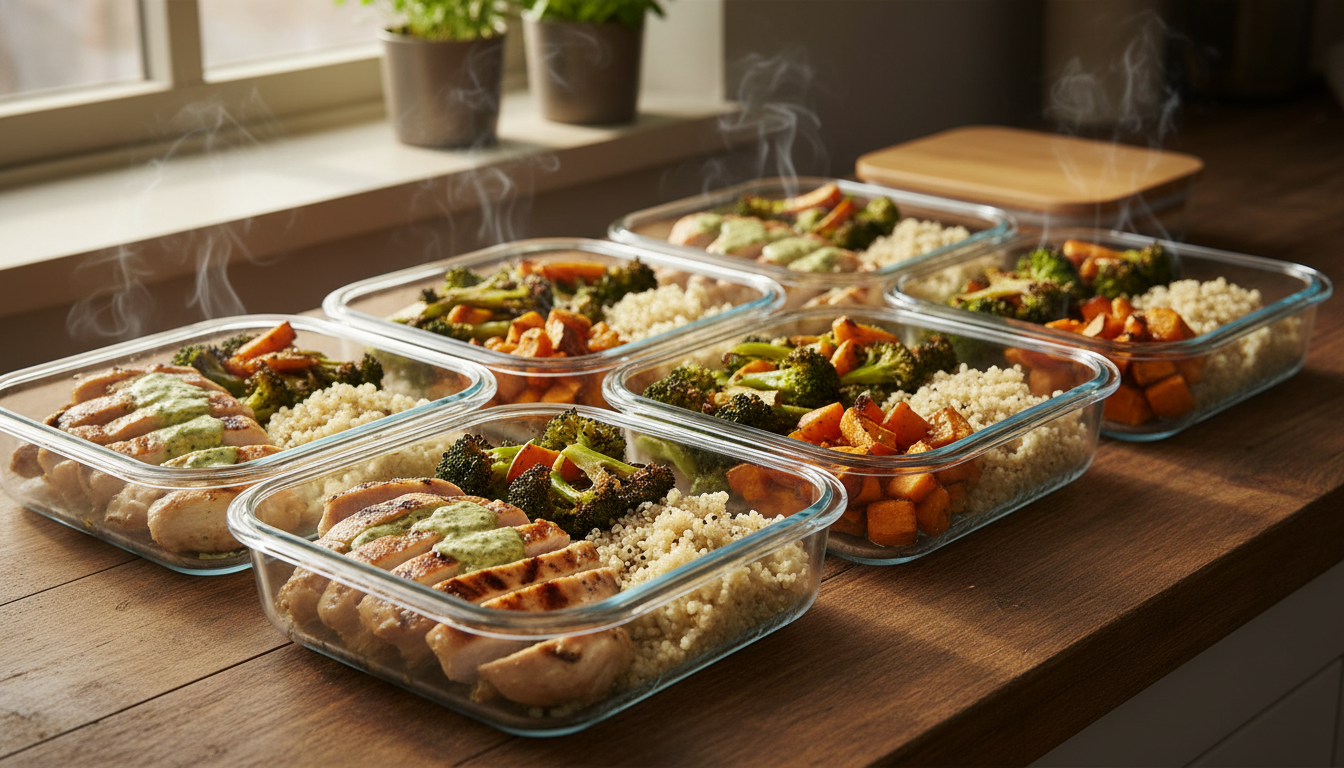
How to store
Proper storage is what guarantees the food safety and flavor quality of your meal prep for the week.
- In the Refrigerator: The meals last safely for up to 3 days. If you’ve made food for 5 days, keep 3 in the fridge and freeze the other 2 as soon as they cool down.
- In the Freezer: They can be stored for up to 90 days. However, to maintain the best flavor, consume within 30 days.
- Containers: Prefer glass containers with airtight lids. They don’t absorb odors, don’t stain with sauce, and can go directly from the freezer to the microwave (if they are borosilicate glass). If using plastic, make sure they are BPA-free.
- Labeling: Always put a label with the name of the dish and the date it was prepared. This prevents waste and helps with organization.
Frequently asked questions
Can I put raw salad with the hot food?
It’s not recommended. The ideal is to bring the salad (lettuce, arugula, raw tomato) in a separate container. If you heat the meal with the salad inside, the leaves will wilt and the taste will be unpleasant. The thermal shock also affects preservation.
How to prevent rice from getting hard after being refrigerated?
The secret is not to let the rice dry out completely on the stove and, when assembling your meal prep for the week, place the beans (with broth) on top of or next to it. Another tip is to add a tablespoon of water over the rice before microwaving it; the steam will rehydrate the grains.
Can I freeze cooked potatoes in my meal prep?
White potatoes tend to change texture and become “gritty” after thawing. If you want to use potatoes, it’s best to consume them on the days the meal prep is only in the refrigerator. For the freezer, substitute with sweet potatoes, kabocha squash, or very creamy purees, which hold up much better to the freezing process.
What is the best way to defrost the meal prep?
The ideal way is to move the container from the freezer to the refrigerator the night before you plan to eat it. This allows it to thaw slowly and maintain its original texture. If you forgot to take it out, use the “defrost” function on your microwave before heating it normally, to ensure the center doesn’t remain cold.
With these tips and recipes, making your meal prep for the week will go from being a chore to a pleasant habit. Eating well, with the taste of freshly made food and without spending a lot, is the best gift you can give your routine!
O BrasilN1.com é um portal especializado em receitas culinárias confiáveis, com foco na gastronomia brasileira e em preparos adaptados à rotina doméstica.
Todo o conteúdo é desenvolvido e validado pela Chef Laura Montovani, profissional dedicada à padronização de receitas, seleção criteriosa de ingredientes e testes práticos que asseguram consistência nos resultados.
Seguimos boas práticas editoriais, com atenção à precisão das informações, linguagem acessível e compromisso com originalidade, oferecendo materiais gastronômicos seguros e úteis para diferentes públicos.
